Blog Settings – Nexus
The Nexus theme includes a fully customizable Main Blog section that controls how your blog listing page looks and behaves. You can access and adjust these settings directly from the Shopify Theme Editor.
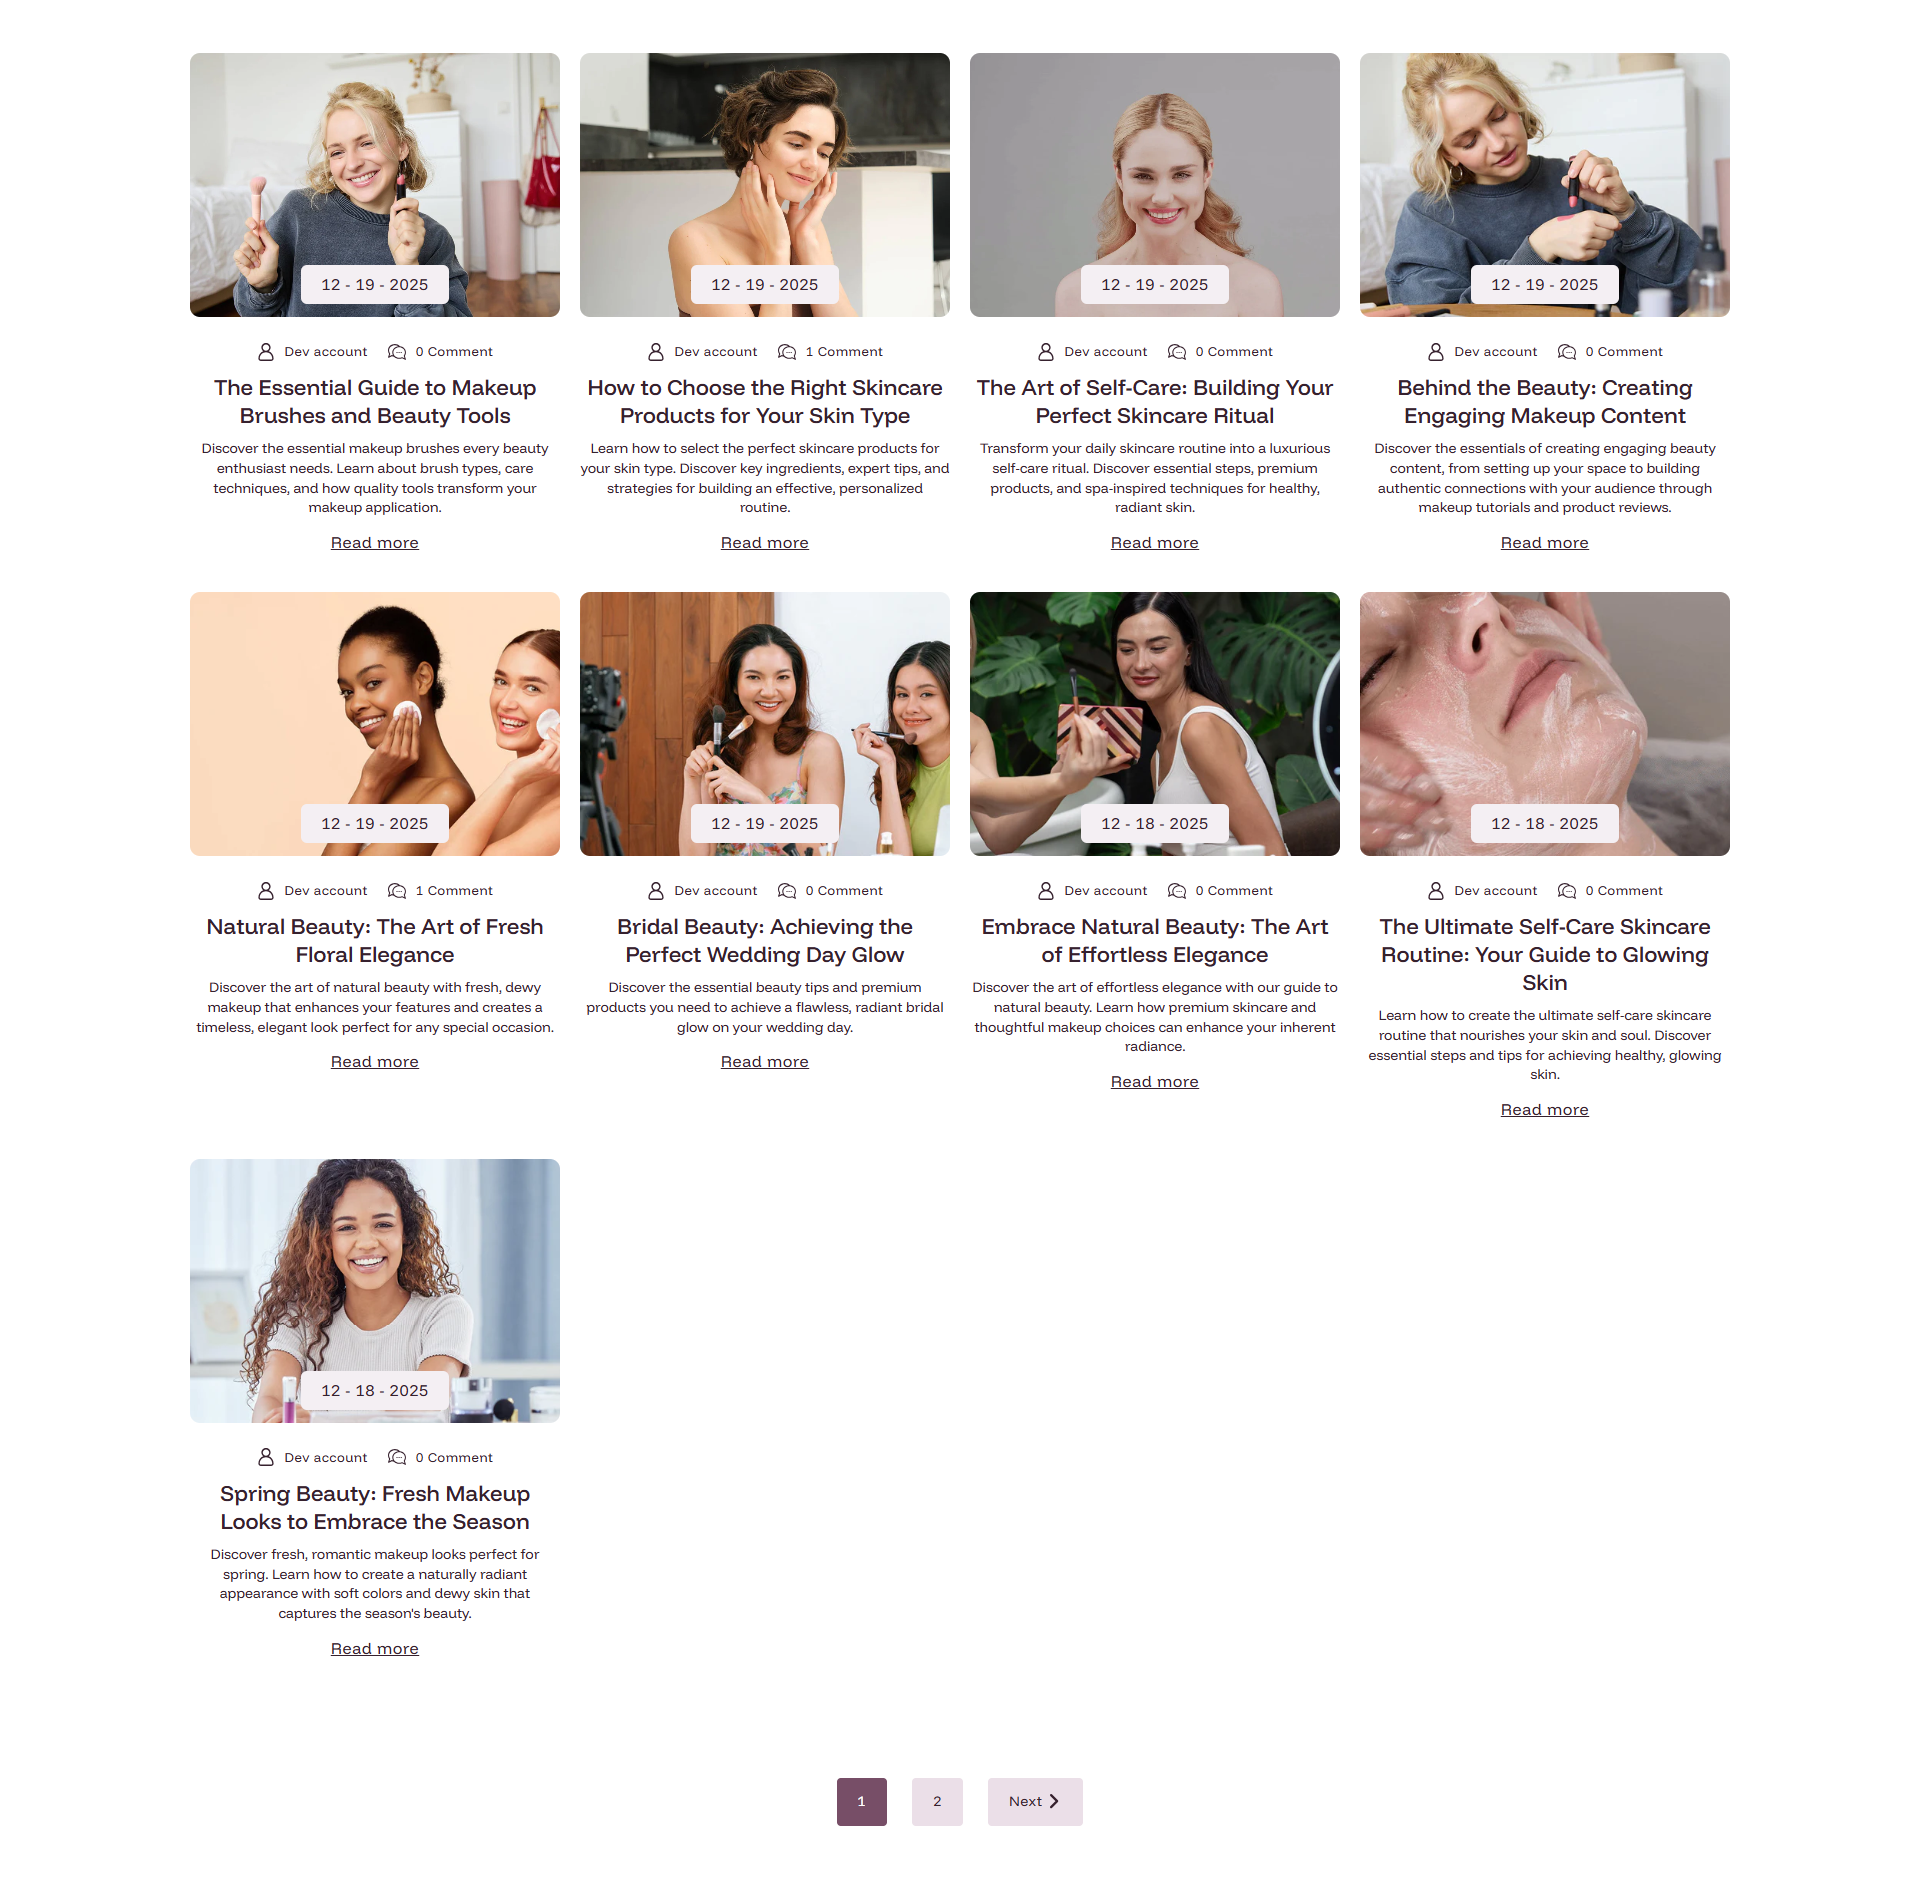
Main Blog Section Settings
- Color scheme: Select a color scheme (e.g., Scheme 5) to set the background and text color for the blog listing page.
- Show title: Toggle to show or hide the blog name (e.g., "News") as a heading at the top of the listing page.
- Font size: Set the heading size for the blog page title. Options include H1, H2, H3, H4, and H5.
- Aspect ratio: Control the shape of blog post cover images. Choose from Landscape, Portrait, Square, or Adapt (matches original image dimensions).
- Columns per row: Set how many blog post cards appear side-by-side on desktop (e.g., 4 columns).
- Number of articles per page: Set how many blog posts appear before pagination kicks in (e.g., 9 articles per page).
- Show content: Toggle to display a short excerpt from the blog post below the title on the listing card.
- Limit content: When "Show content" is on, set the maximum number of lines to display in the excerpt (e.g., 4 lines).
- Show author: Toggle to display the author's name on each blog post card.
- Show comment count: Toggle to show how many comments each blog post has received.
- Show date: Toggle to display the publish date on each blog post card.
- Show tags: Toggle to display the tags assigned to each blog post on the listing card.
Padding Settings
- Desktop padding top / bottom: Control the vertical spacing above and below the blog grid on desktop (e.g., 60px top, 40px bottom).
- Mobile padding top / bottom: Control the vertical spacing above and below the blog grid on mobile screens (e.g., 40px top, 40px bottom).
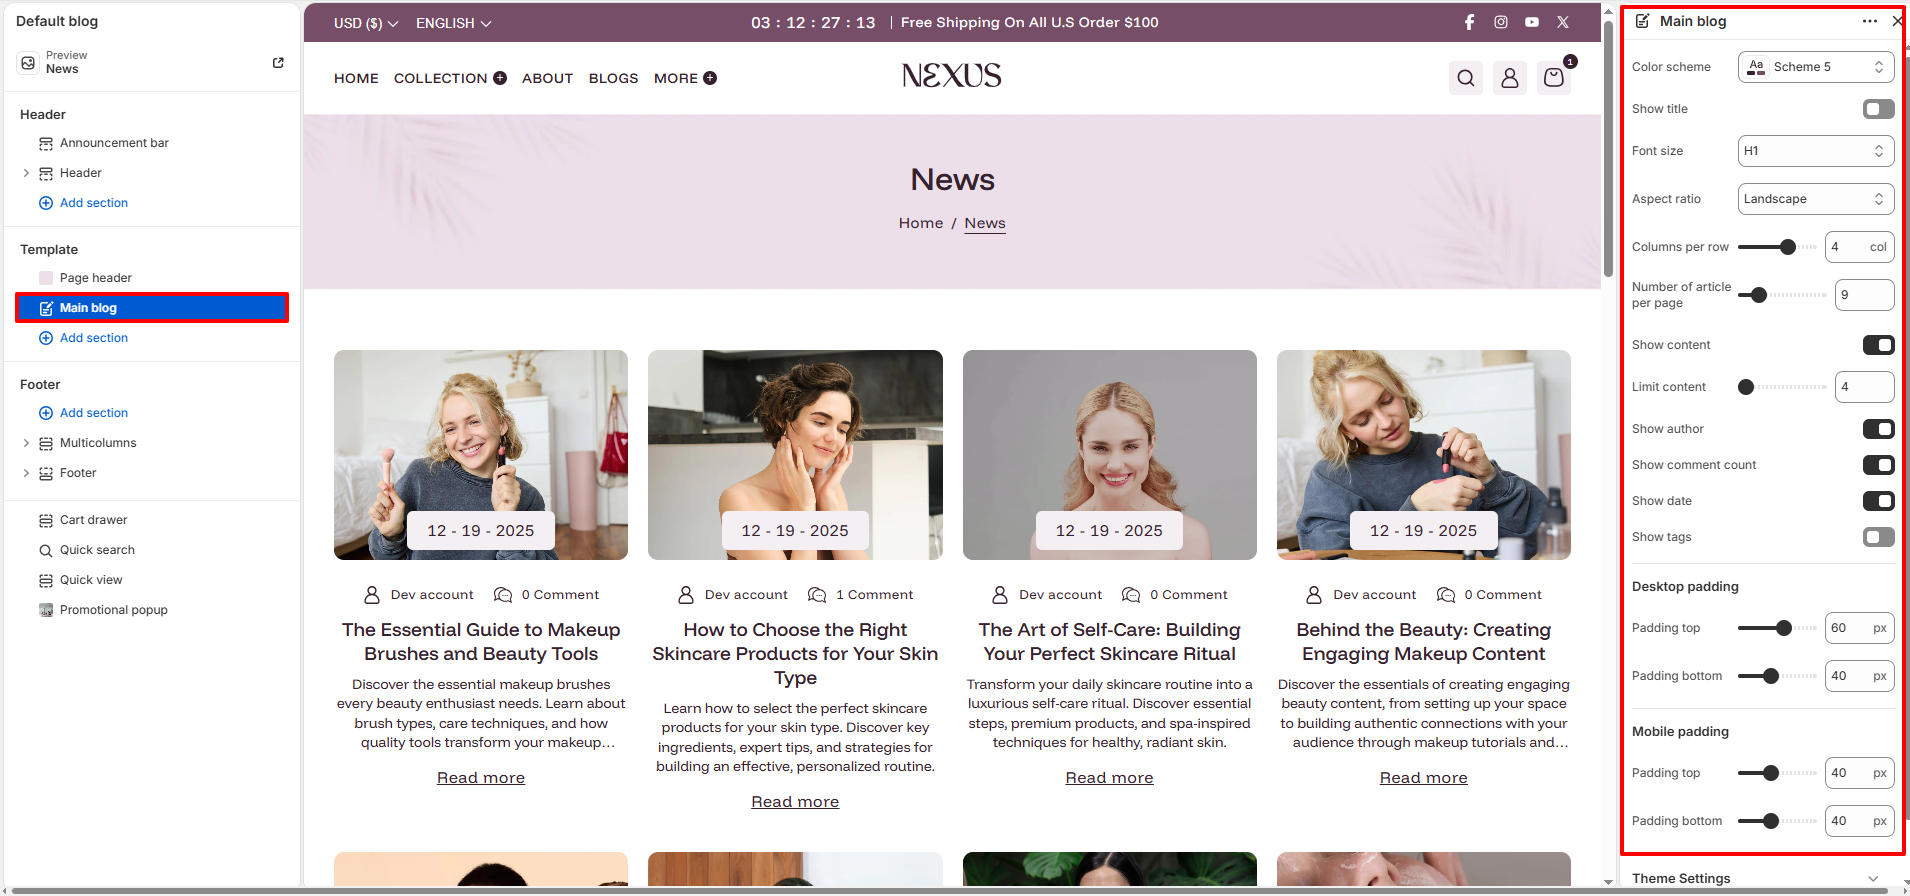
How to Customize the Blog Page
- Go to Online Store → Themes → Customize.
- From the top page dropdown, select Blogs → News (or your blog name).
- Click Main blog in the left sidebar.
- Adjust the settings as needed and click Save.